Controlling your TV with voice and Raspberry Pi
What’s cooler than controlling your TV with voice commands?
A billion dollars!
But for this post,
it’s controlling your TV with voice commands through Raspberry Pi!
(and a billion dollars…)
So, down to business.
Full code can be found on GitHub.
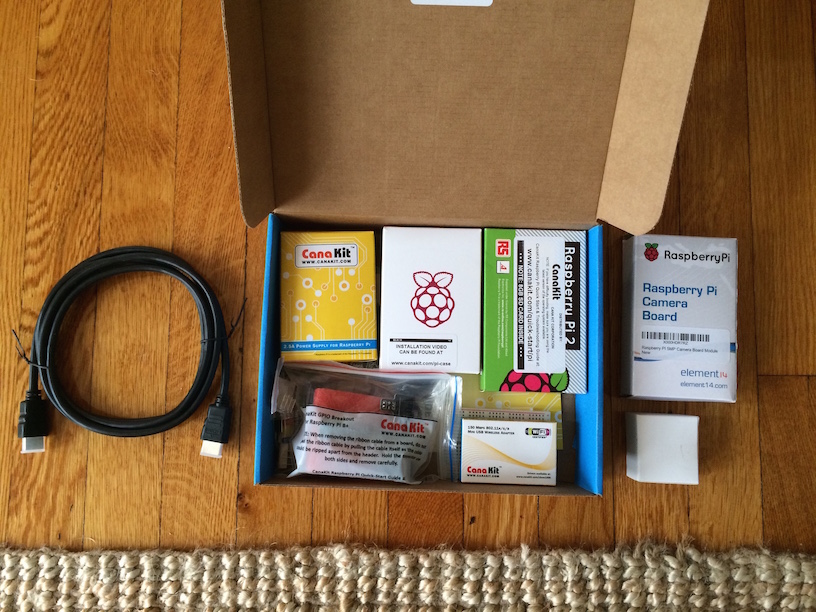
Hardware requirements:
- TV set with enabled HDMI-CEC / Anynet+ (Samsung) - You’ll have to check your own TV set and make sure that you enable the HDMI-CEC control.
- Raspberry Pi - I recommend the CanaKit Raspberry Pi 2. For this tutorial, the Raspberry Pi should be connected to the TV set via HDMI.
- USB microphone - I used C-Media microphone USB
Install usb microphone on Raspberry Pi
It seems that just connecting the USB microphone is not enough with the Raspberry Pi, you actually have to enable it on the Raspberry Pi OS in order to use it:
1) Edit /etc/modprobe.d/alsa-base.conf with your favorite editor
1.1) Set the value options snd-usb-audio index=-2 to be options snd-usb-audio index=0
1.2) On the next line add: options snd_bcm2835 index=1
2) Reboot your Raspberry Pi
sudo reboot3) From the Raspberry Pi terminal, run lsusb.
Make sure that you can see your device in the list (in my case “C-Media Electronics, Inc. CM108 Audio Controller”):
pi@raspberrypi ~ $ lsusb
Bus 001 Device 002: ID 0424:9514 Standard Microsystems Corp.
Bus 001 Device 001: ID 1d6b:0002 Linux Foundation 2.0 root hub
Bus 001 Device 003: ID 0424:ec00 Standard Microsystems Corp.
Bus 001 Device 004: ID 148f:5370 Ralink Technology, Corp. RT5370 Wireless Adapter
Bus 001 Device 005: ID 0781:5575 SanDisk Corp.
Bus 001 Device 006: ID 0d8c:013c C-Media Electronics, Inc. CM108 Audio Controller
Bus 001 Device 007: ID 046d:c31c Logitech, Inc. Keyboard K120 for Business
4) Run “cat /proc/asound/cards” and verify that your USB mic is set on device 0:
pi@raspberrypi ~ $ cat /proc/asound/cards
 0 [Device         ]: USB-Audio - USB PnP Sound Device
                      C-Media Electronics Inc. USB PnP Sound Device at usb-3f980000.usb-1.4, full spe
 1 [ALSA           ]: bcm2835 - bcm2835 ALSA
                      bcm2835 ALSA
Install requirements (on the Raspberry Pi)
Install basics
sudo apt-get install libcec-dev build-essential python-devInstall pyaudio
1) Clone the pyaudio git repository
git clone http://people.csail.mit.edu/hubert/git/pyaudio.git2) Go to the pyaudio folder and run the install command
cd pyaudio
sudo python setup.py install
Install flac
Flac is an audio compression format (like MP3).
If you don’t have it, pyaudio will not be able to run.
sudo apt-get install flacInstall required python modules
Last step before creating our script is to install a few python packages. I usually like to create virtual environments for these projects.
In your virtual environment install the following packages:
- Speechrecognition - Library for performing speech recognition with the Google Speech Recognition API.
- pyaudio - provides Python bindings for PortAudio, the cross-platform audio I/O library
- python cec - Python bindings for libcec. This will be used to control the TV through HDMI.
pip install Speechrecognition
pip install --allow-external pyaudio --allow-unverified pyaudio pyaudio
pip install cec
Creating the script
This is a very simple script, which performs the following steps:
- Initialize the required components
- Start running an infinite loop until there’s a stop command:
- Record audio through the microphone
- Translate the audio to text
- Check if text contains a command
- Perform the required command
Step 1: Initialize required components
We’ll start by importing the required packages:
import cec
import speech_recognition as sr
We need to define the commands that we want to use. For this example I chose the following commands:
- Turn the TV on
- Turn the TV off
- Close program
TURN_TV_ON = "turn tv on"
TURN_TV_OFF = "turn tv off"
CLOSE_PROGRAM = "close program"
Initialize CEC control
cec.init()Create speech recognition object
r = sr.Recognizer()Step 2: Record and analyze audio
In an infinite loop, record audio through the microphone
with sr.Microphone() as source:
    audio = r.listen(source)
Translate the audio to text
command = r.recognize(audio)Check if the command is to turn the TV on
if TURN_TV_ON in command.lower():
	# Get tv device and turn it on
    tv = cec.Device(0)
    tv.power_on()
Check if the command is to turn the TV off
if TURN_TV_OFF in command.lower():
    # Get tv device and turn it off
    tv = cec.Device(0)
    tv.standby()
Check if the command is to stop the script
if CLOSE_PROGRAM in command.lower():
    # Stop program
    break
This is how the full code looks like:
import cec
import speech_recognition as sr

TURN_TV_ON = "turn tv on"
TURN_TV_OFF = "turn tv off"
CLOSE_PROGRAM = "close program"

def main():
    # Create cec control
    cec.init()

    # Ceate speech recognizer object
    r = sr.Recognizer()

    # Create infinite loop
    while True:
        # Record sound
        with sr.Microphone() as source:
            print("Recording")
            audio = r.listen(source)

        try:
            # Try to recognize the audio
            command = r.recognize(audio)
            print("Detected speech:{0}".format(command))
            # Check the current command
            if TURN_TV_ON in command.lower():
                # Get tv device and turn it on
                tv = cec.Device(0)
                tv.power_on()
            elif TURN_TV_OFF in command.lower():
                # Get tv device and turn it off
                tv = cec.Device(0)
                tv.standby()
            elif CLOSE_PROGRAM in command.lower():
                # Stop program
                break
        except LookupError:
            # In case of an exception
            print("Could not translate audio")

if __name__ == '__main__':
    main()
If you run the script, you can say the commands and check in the script output if it was able to translate your speech correctly and run the correct command.
That’s it!
Full code can be found on GitHub.
So, what’s cooler than controlling your TV with voice commands?
A billion dollars!